Creating a Stunning Glass Quilt Block: Step-by-Step Guide
Getting Started with Your Glass Quilt Block
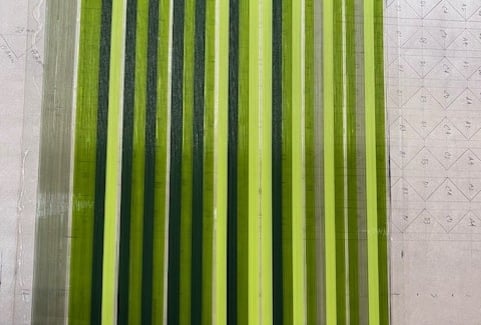
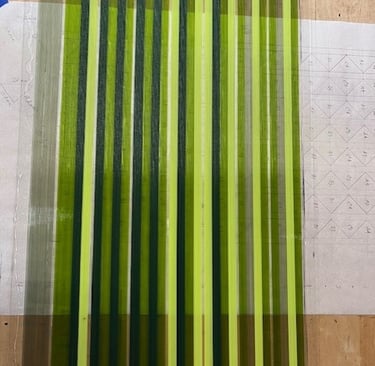
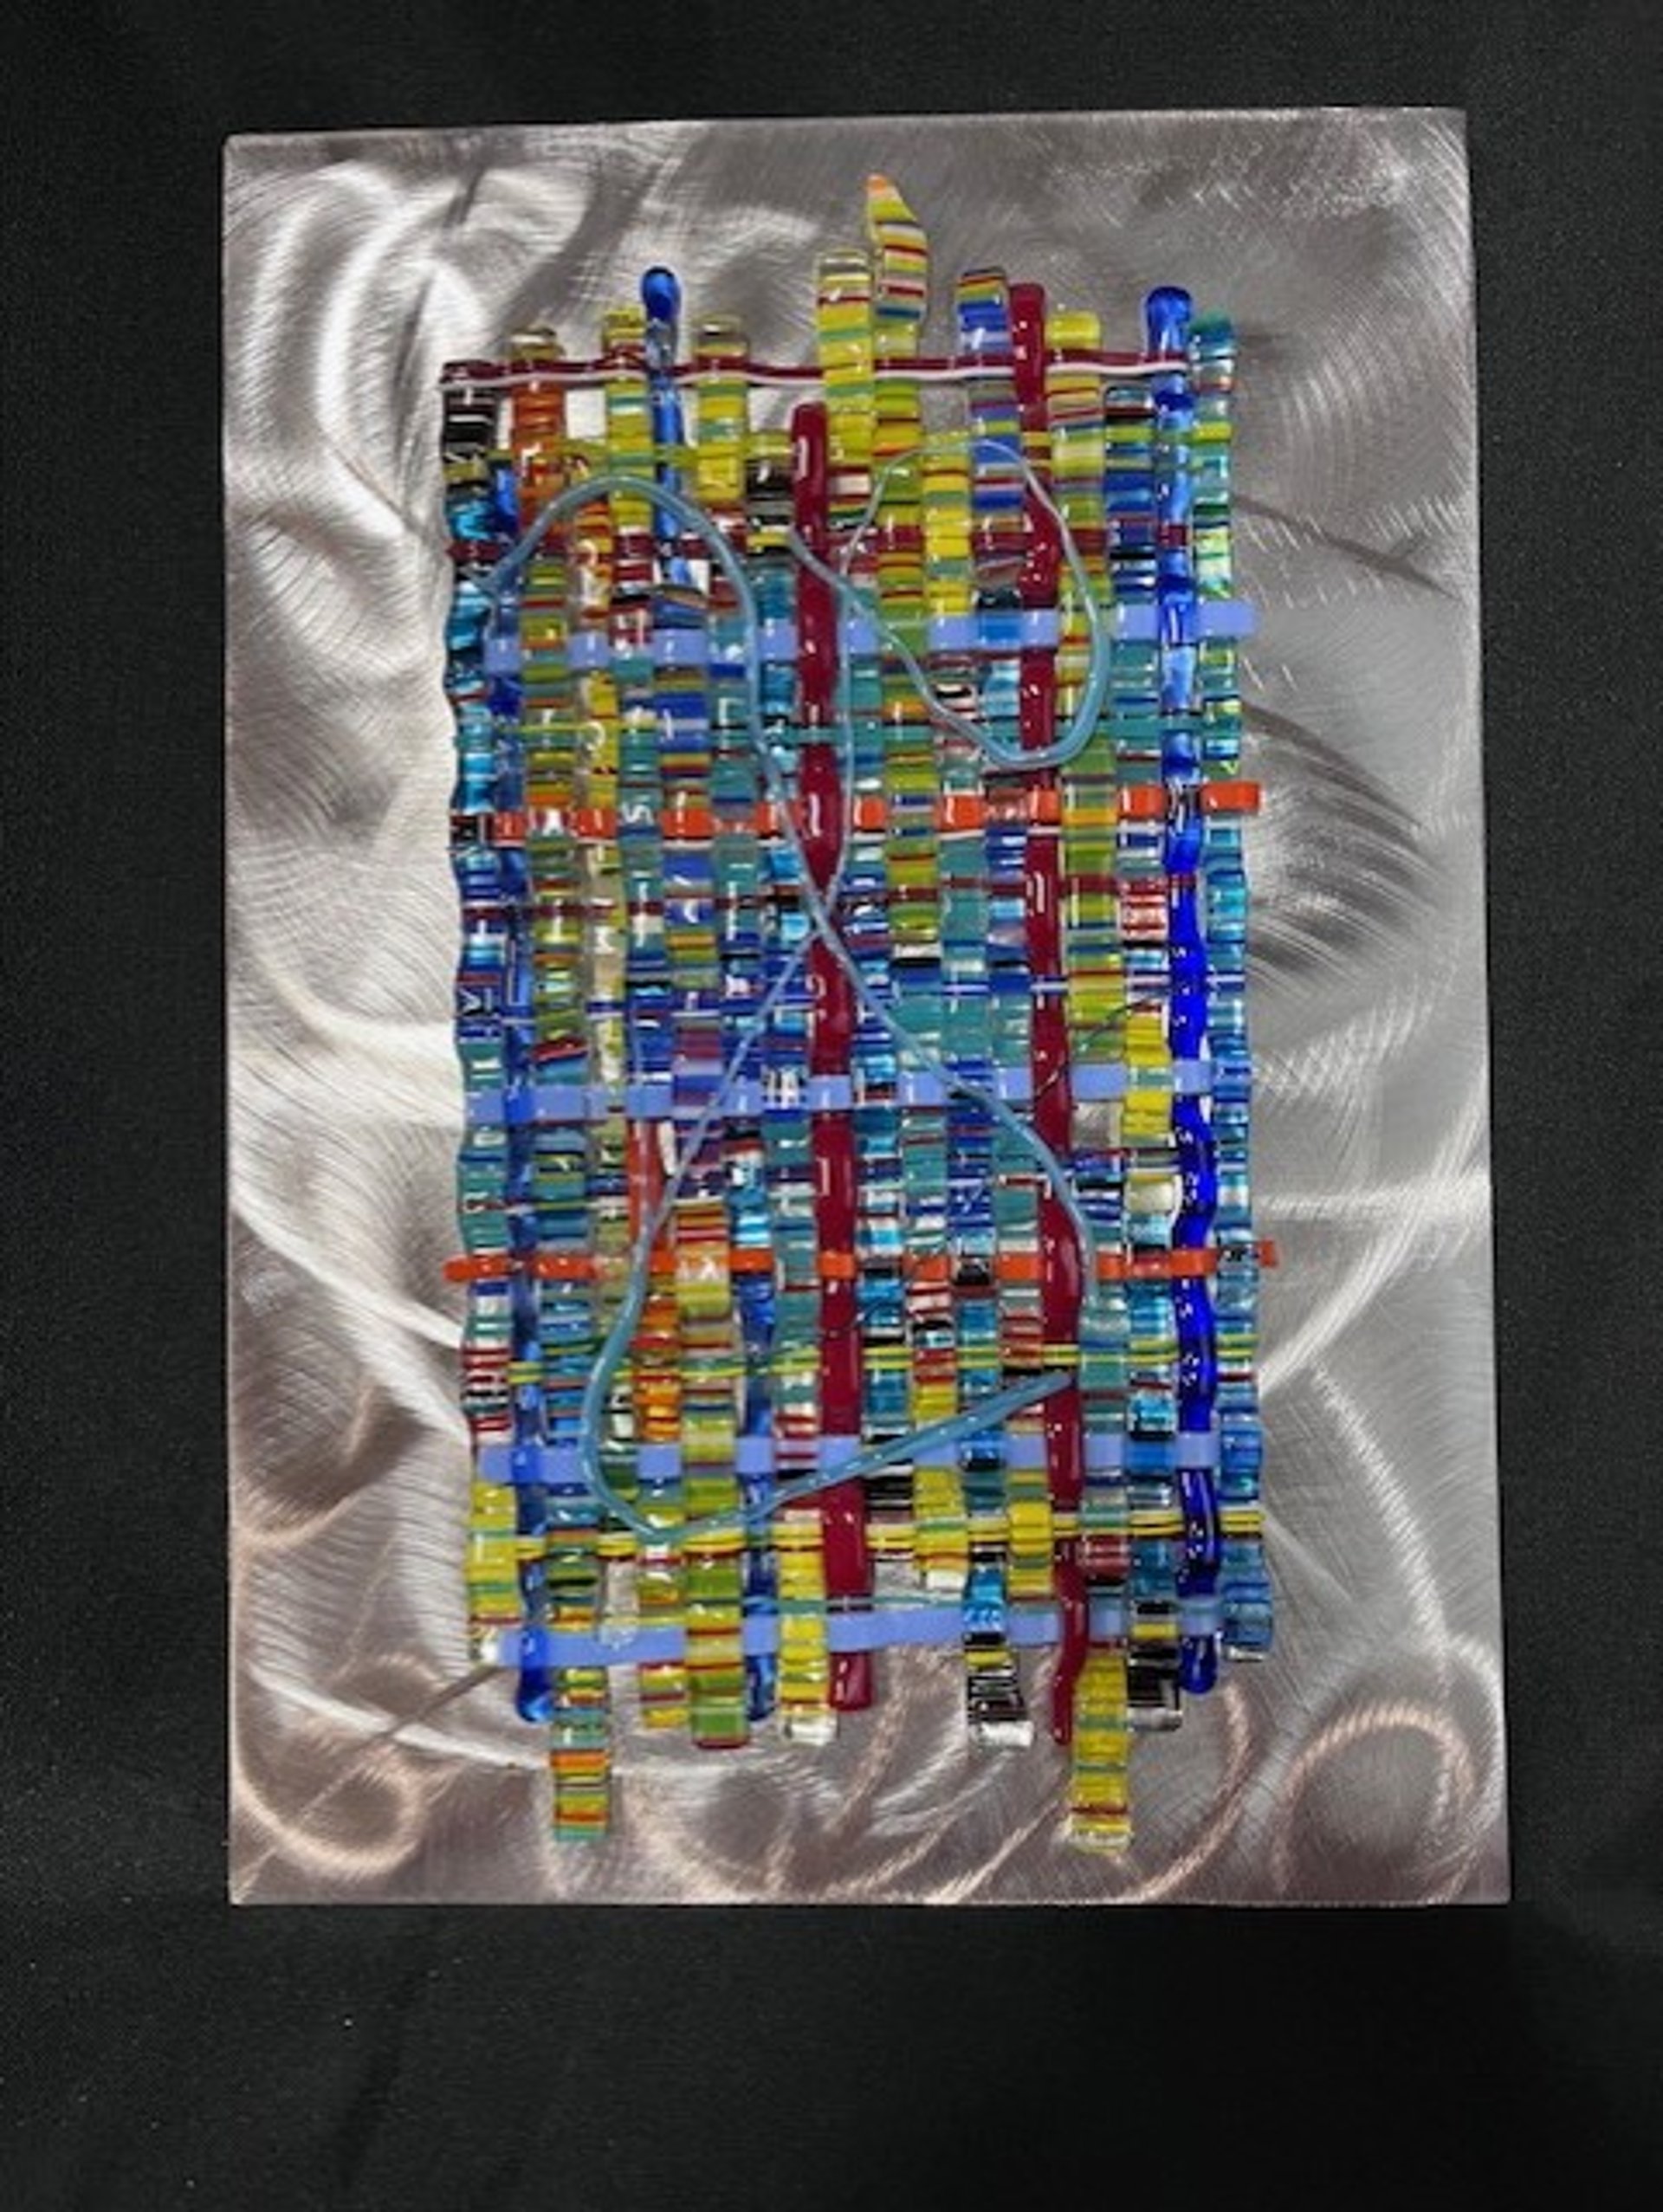
Crafting a glass quilt block is an exciting adventure for any glass artist. This project utilizes a beautiful color scheme primarily featuring greens, which gives a fresh and vibrant look, reminiscent of a lush garden. For this endeavor, we'll begin by arranging 234 pieces of 1mm glass stringers onto a 2mm sheet of clear glass. Think of this step as placing your fabric patches together before sewing them into a full quilt.
Full Fusing the Glass Fabric
Once you have arranged the stringers, it’s time to full fuse everything together. This process involves heating the glass in a kiln at high temperatures until the stringers meld seamlessly into a single sheet of glass. It's crucial to monitor your kiln and ensure that the temperature is consistent to avoid any breakage or warping—an absolute must for a meticulous crafter! After the firing, you will have a beautifully fused piece that mimics the fabric uniquely.
Cutting and Arranging the Pieces
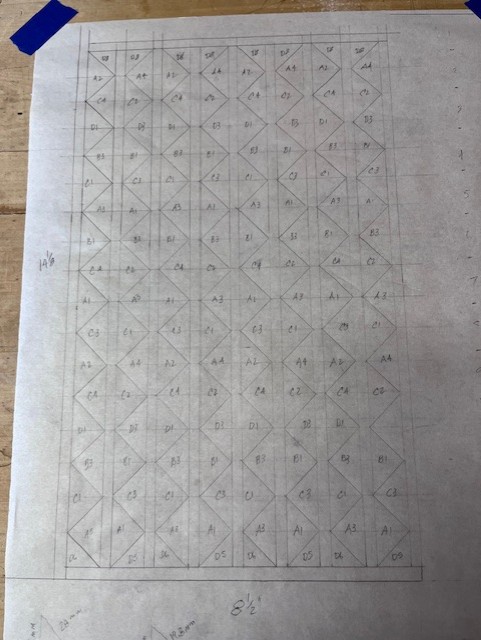
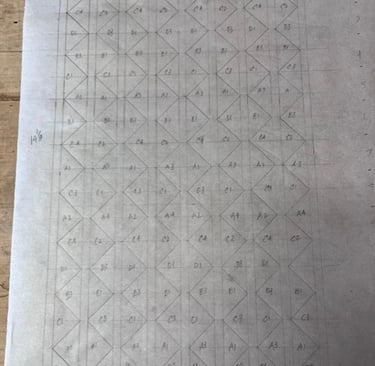
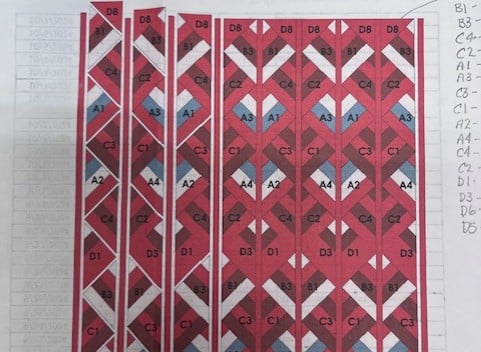
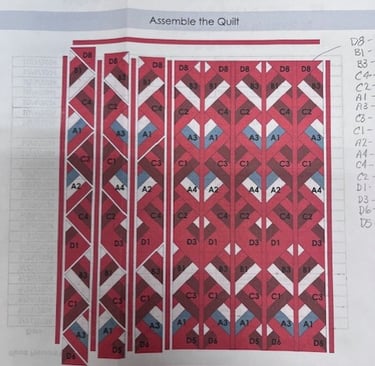
After your glass has cooled down, the next step is to cut this fused sheet into 155 pieces that will represent the blocks of your quilt. This cutting process requires a steady hand and sharp tools, so take your time; precision is key in ensuring that your pieces fit together perfectly later on. Once you’ve cut the pieces, it's all about arranging them on a 3mm sheet of glass. This arrangement is like finalizing the layout of your quilt before sewing—all about aesthetics and harmony between the colors.
Once you are satisfied with your arrangement, it's time for another full fuse. This final touch will attach all pieces together to create one cohesive artwork. As you prepare for the firing again, keep your fingers crossed. Every step carries a degree of unpredictability—firing, cutting, reassembly, and final fusing can all have their surprises. With creativity and patience, however, you can achieve a magnificent glass quilt block that mirrors the beauty of fabric art!
Remember, the journey is just as important as the destination. Enjoy each moment as you craft your stunning piece of art!